In planning for DragonCon, I finally decided to put my meager skills to the test and build something really impressive, at least for myself. The color scheme is red, black, and silver in a Viking theme. The helmet is complete, and I am happy with it.
This was a major undertaking and really pushed me to up my stamping.
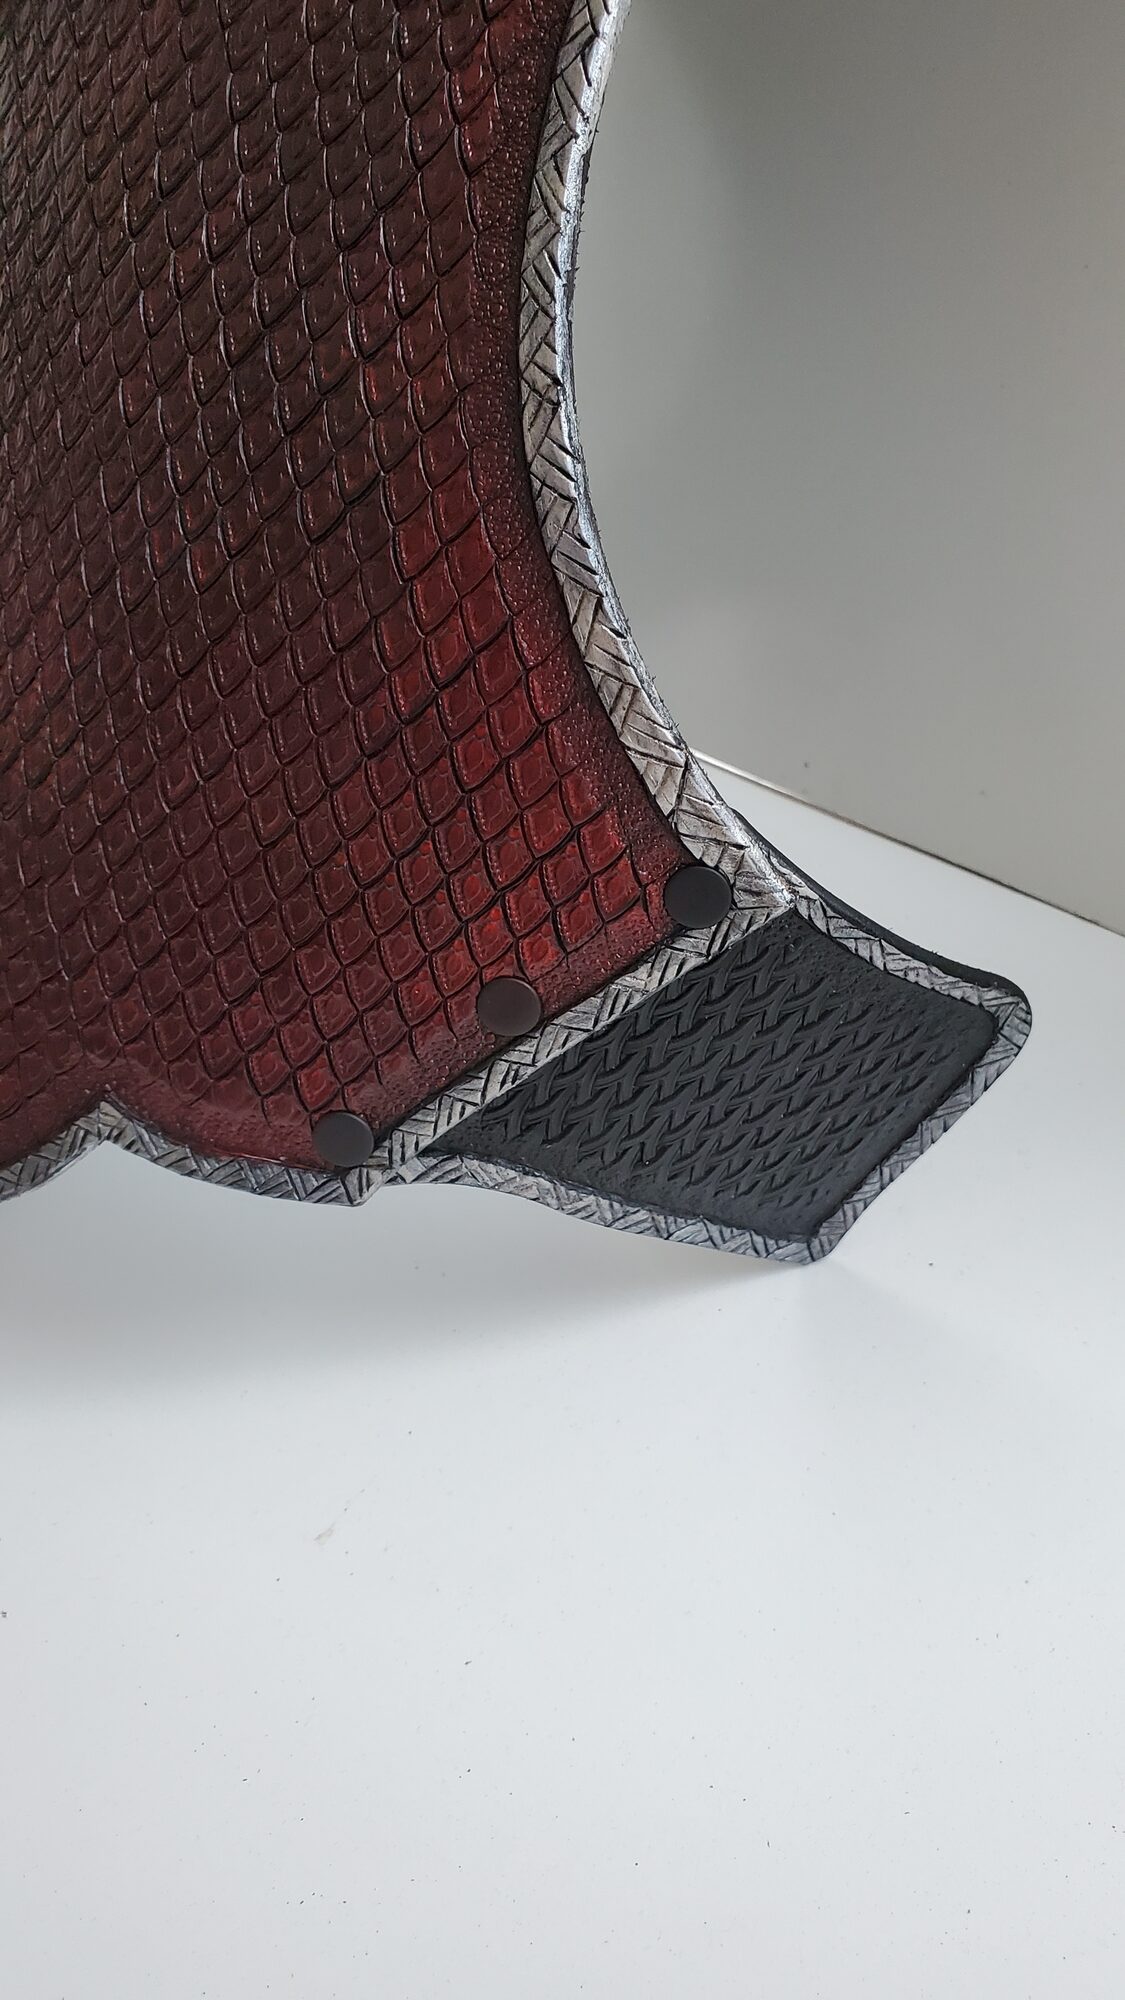
I started with the side tabs. These hold the buckles and straps. I have stamped before, but I had never found that window where the leather is moist enough to stamp and not too wet. I had 16 tabs to work with, so I adjusted the moisture from panel to panel. I still did not get it quite right.
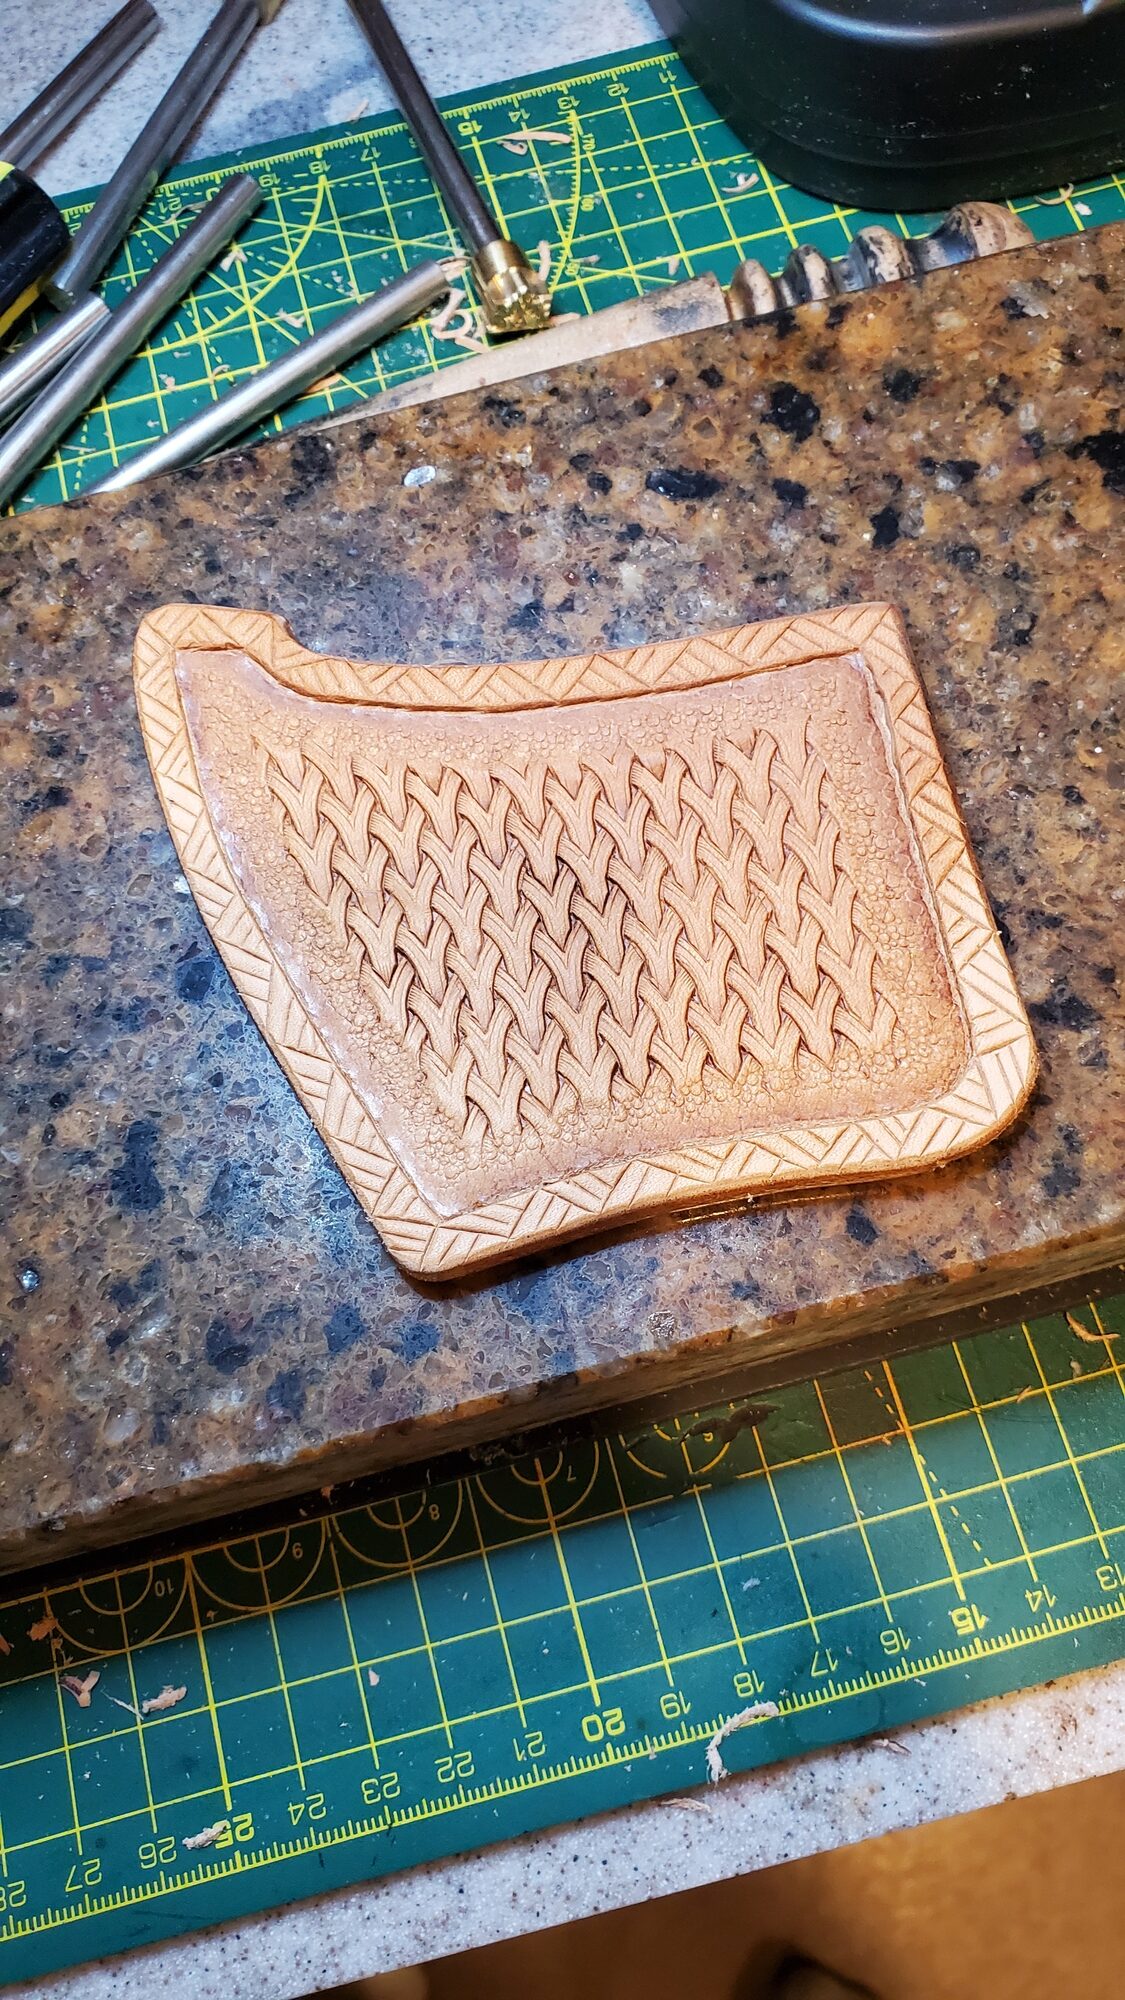
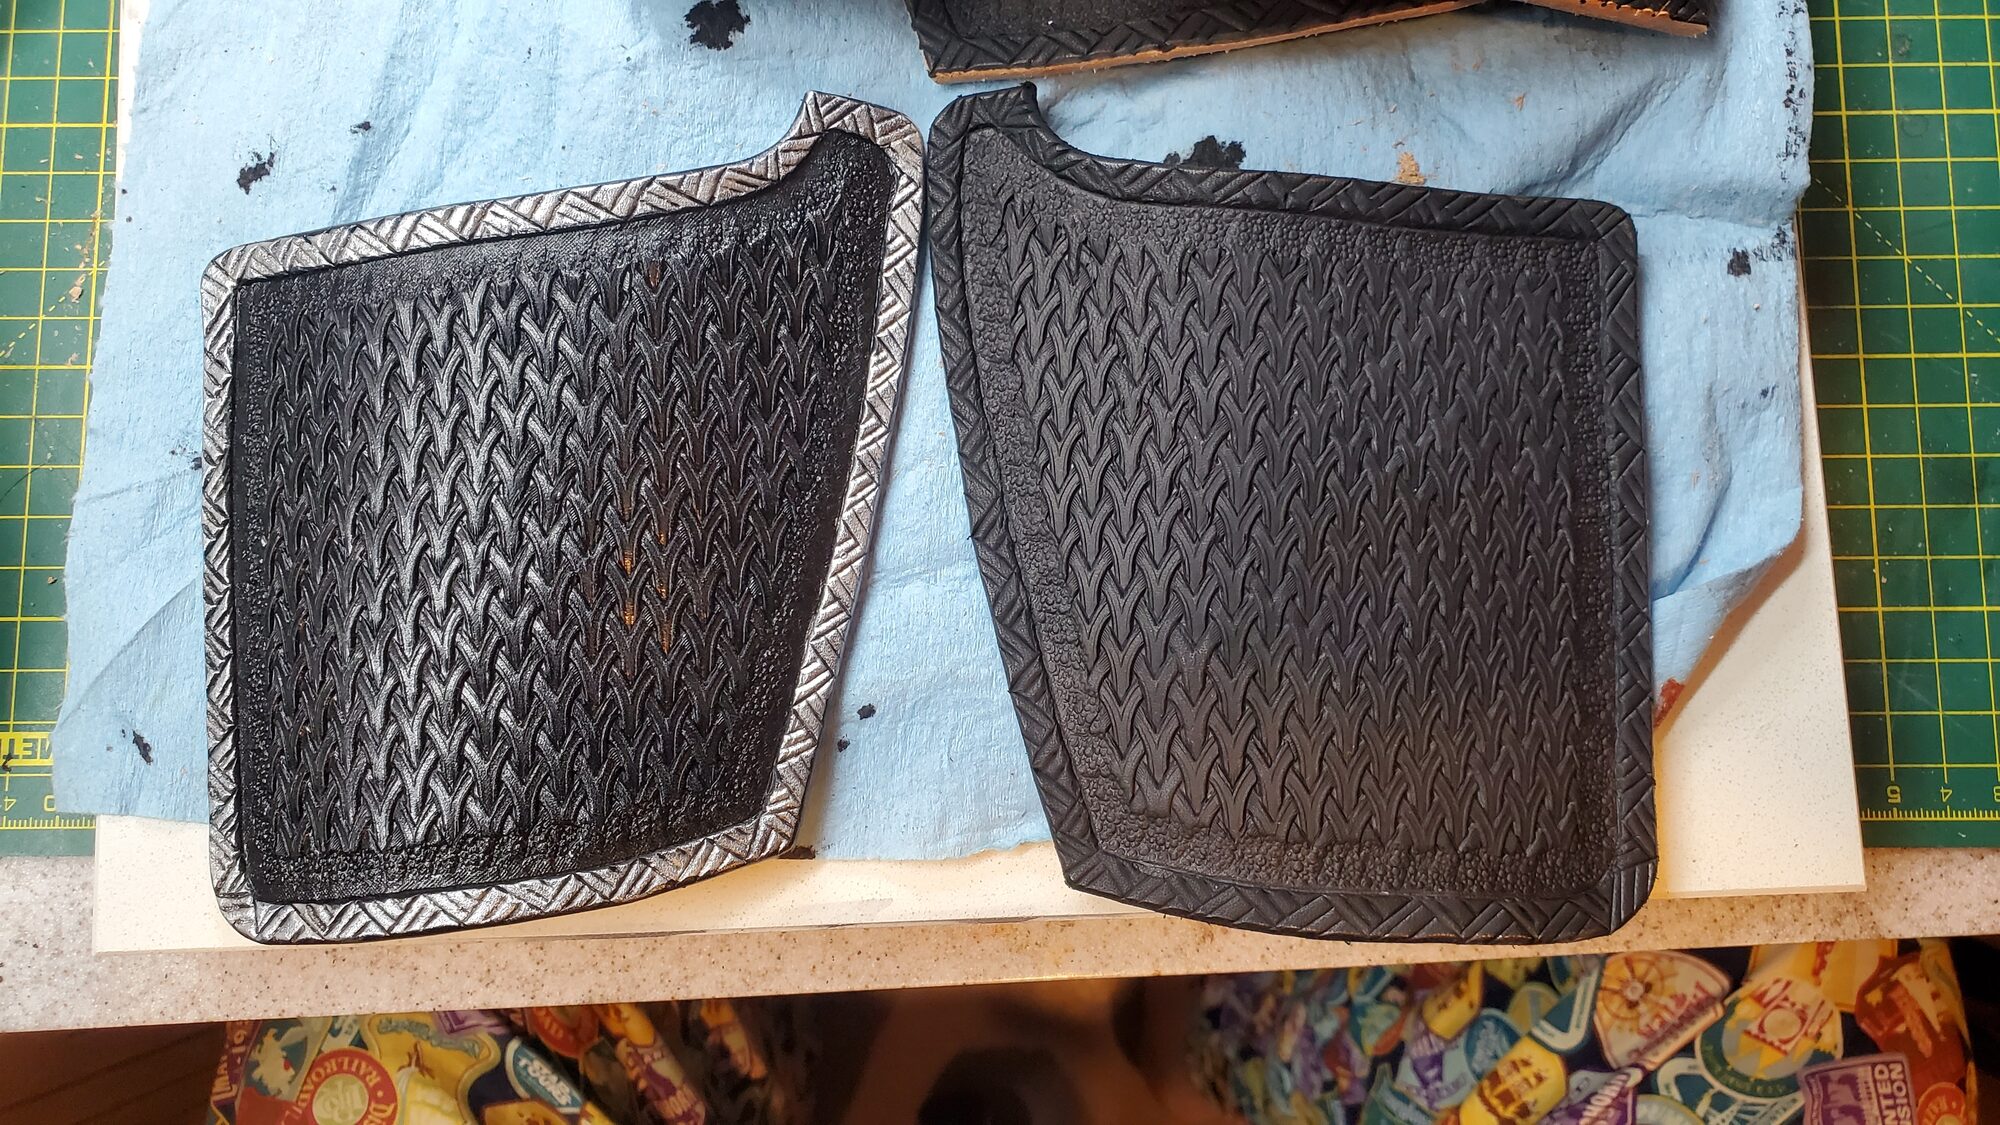
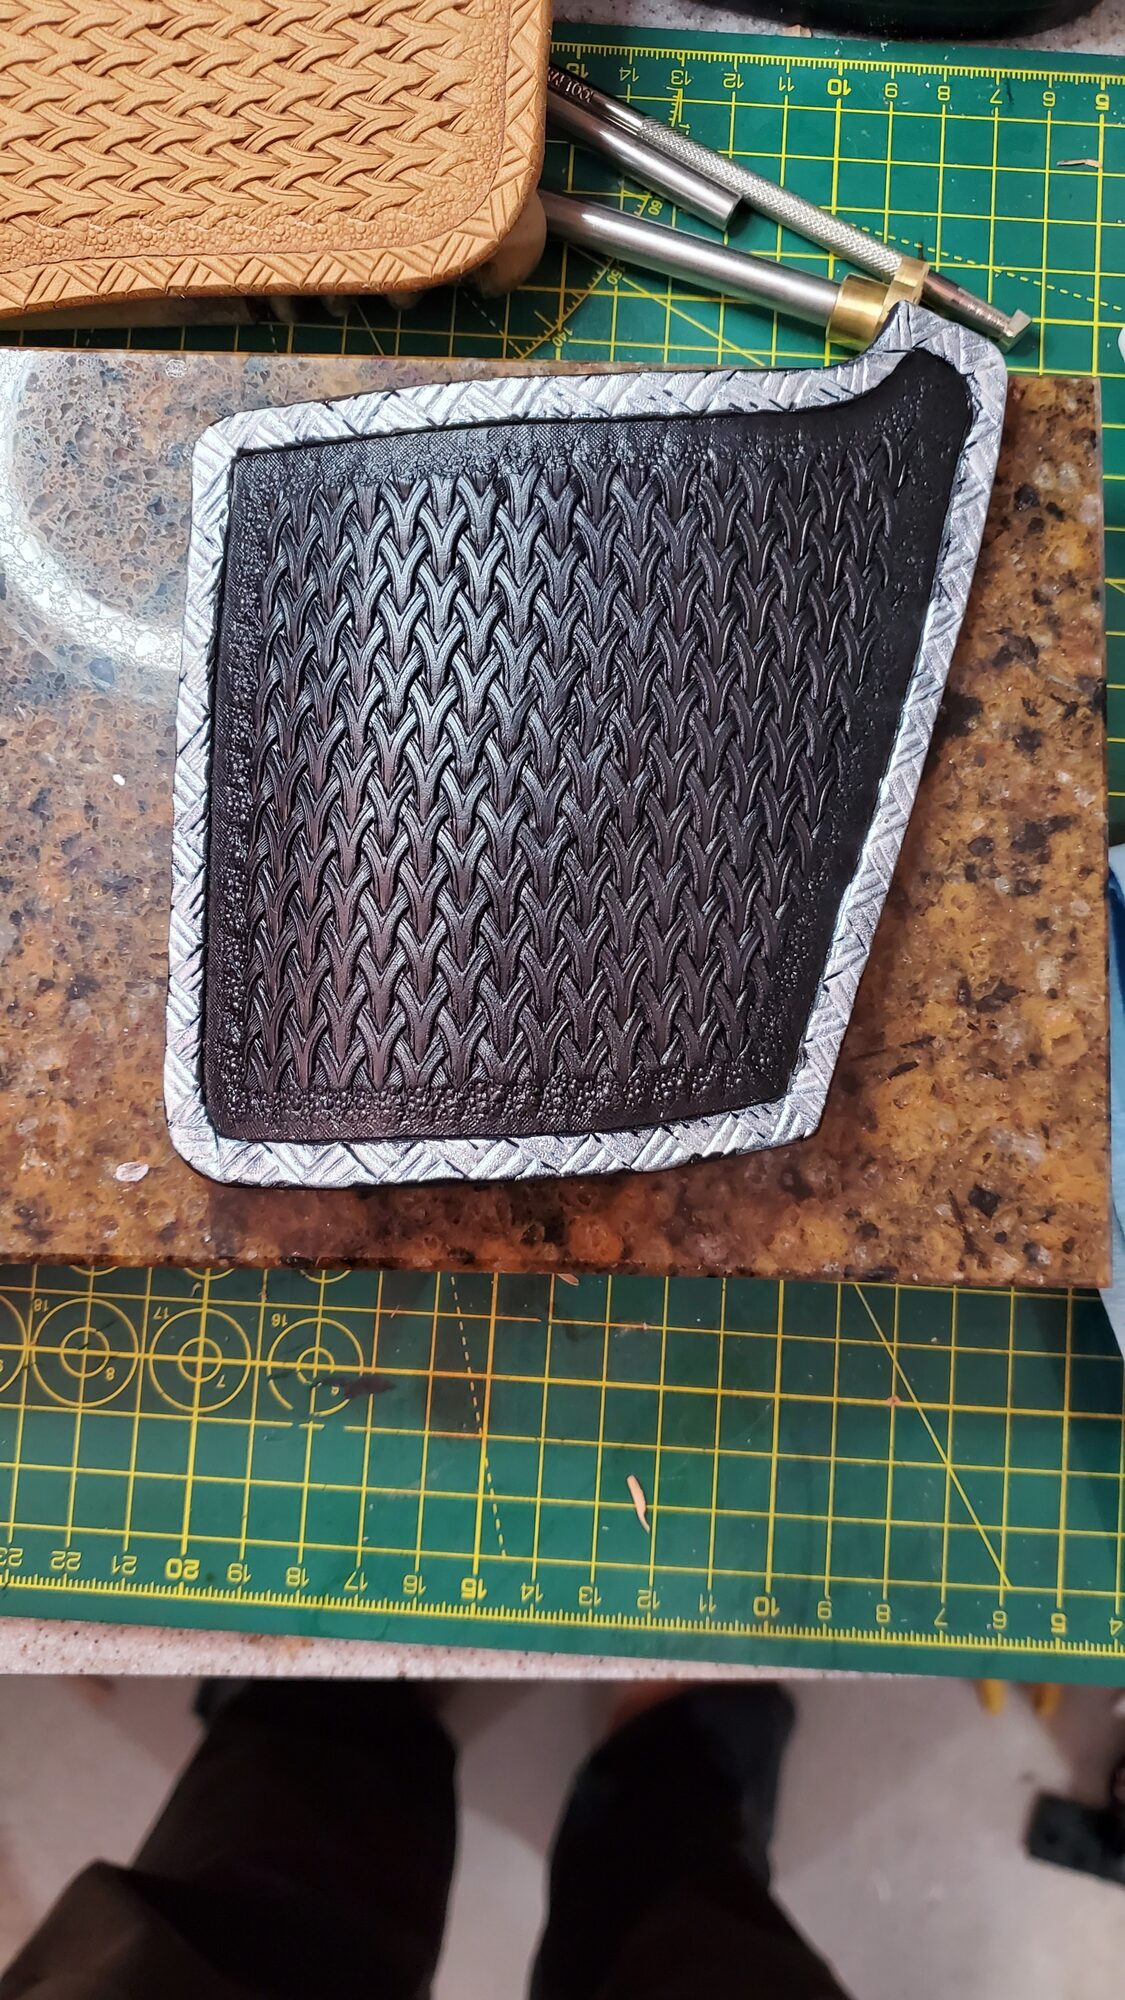
It came out okay. Some of them are a bit squishy and are not up to snuff. I was satisfied, but I can do better with practice.
Next up was the back. I was using a scale stamp that can fit about 9 to 12 scales in one square inch. I thought I might do the back in this stamp and then switch to an easier pattern with some swivel-knife work for the front. After several hours and thousands of scales, the upper back started to look like something I could be proud of. I started to learn how to keep the scales from drifting. If you are 1/16 of an inch off on one stamp, it quickly becomes a gap or an overstamp.
I was still too heavy on the moisture. I needed to get over “it is wet and looks like it is drying, so start stamping.” As I went on to the lower back, I finally realized how little water you really need, and what color the top should be when you start. The stamping color started to show. That panel was better, but it still did not show what you get when the moisture is right. That does not matter much on this project, but I want a few future pieces in light brown where the burnish will show.
Lastly I started coloring and antiquing. It makes sense after you have done it a few times. Once that was complete, I realized I was going to be stamping a lot more, because this came out beautiful.
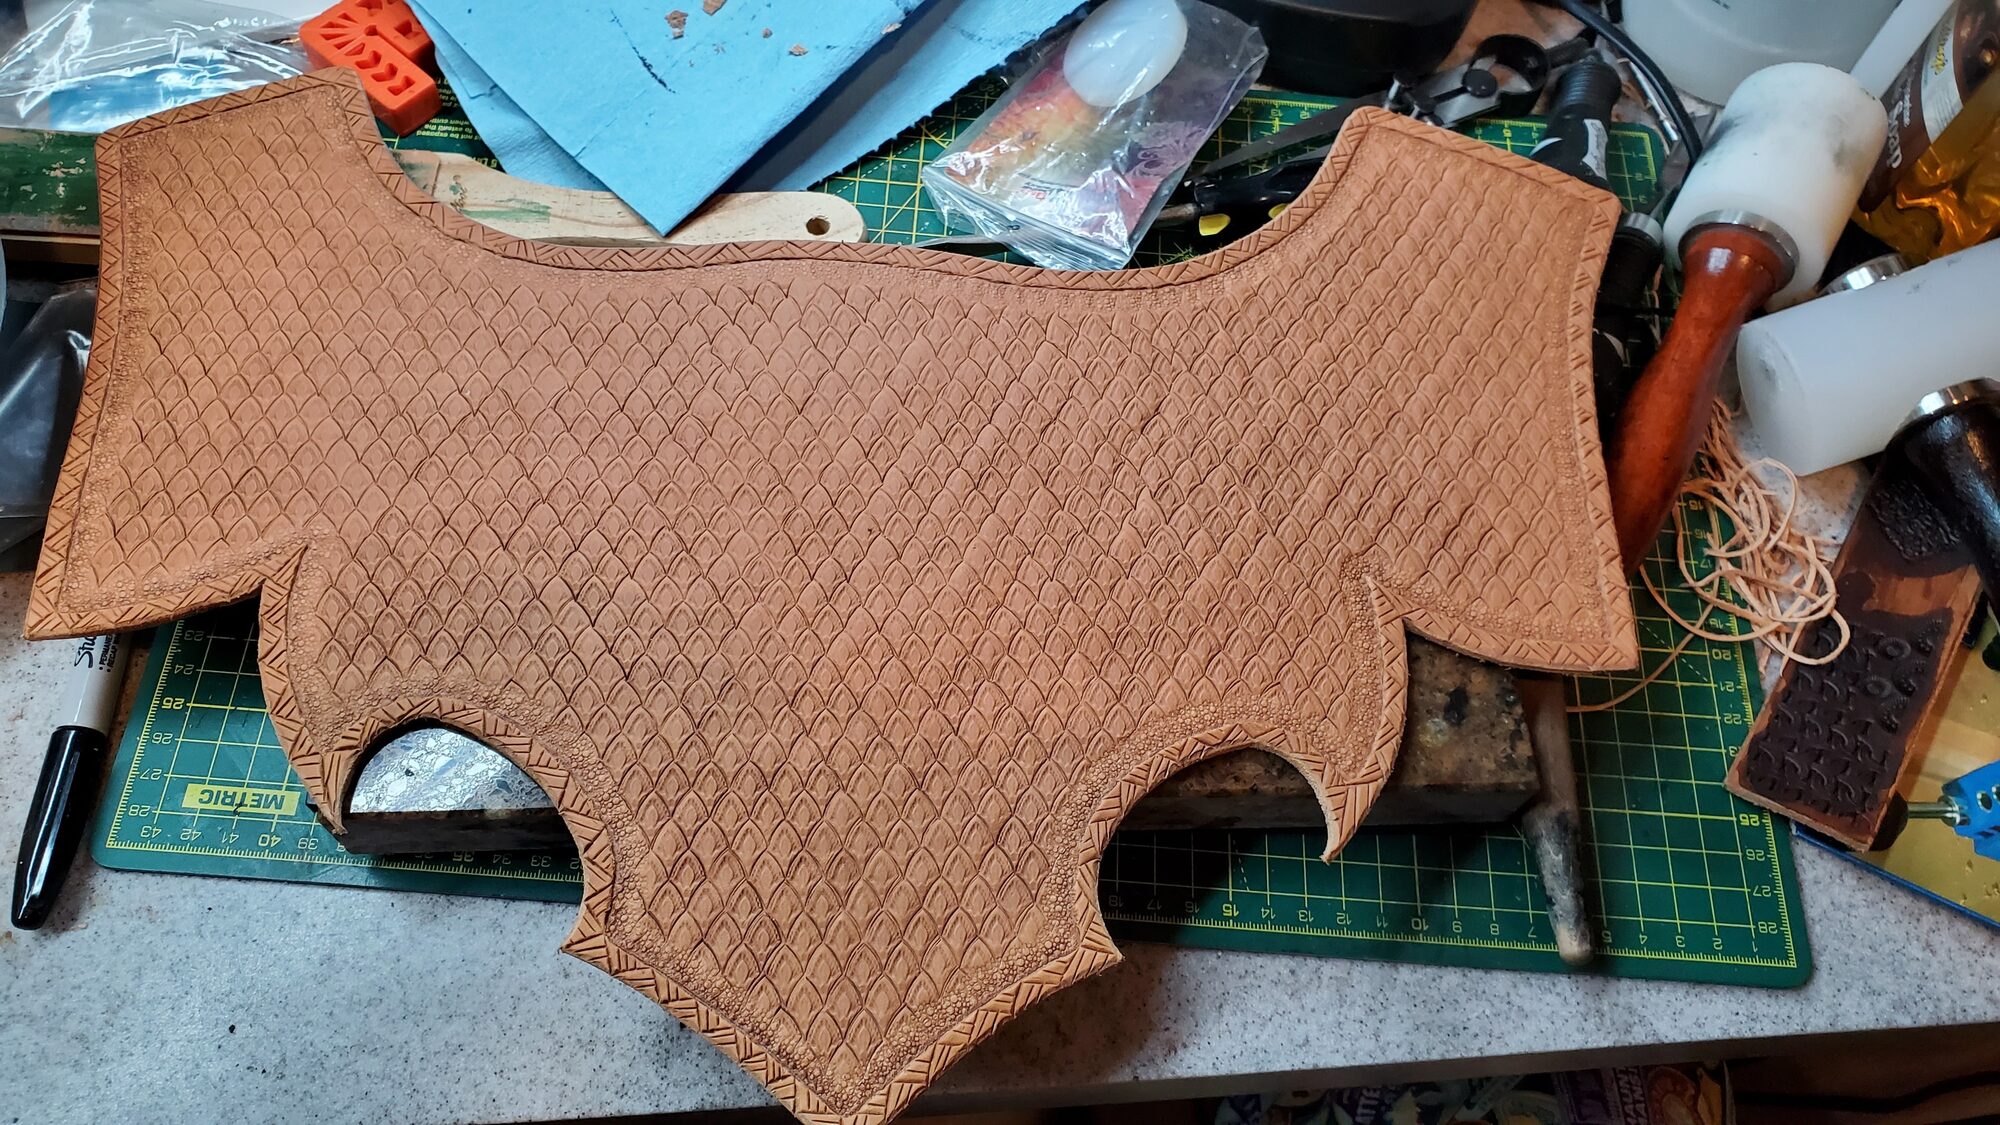
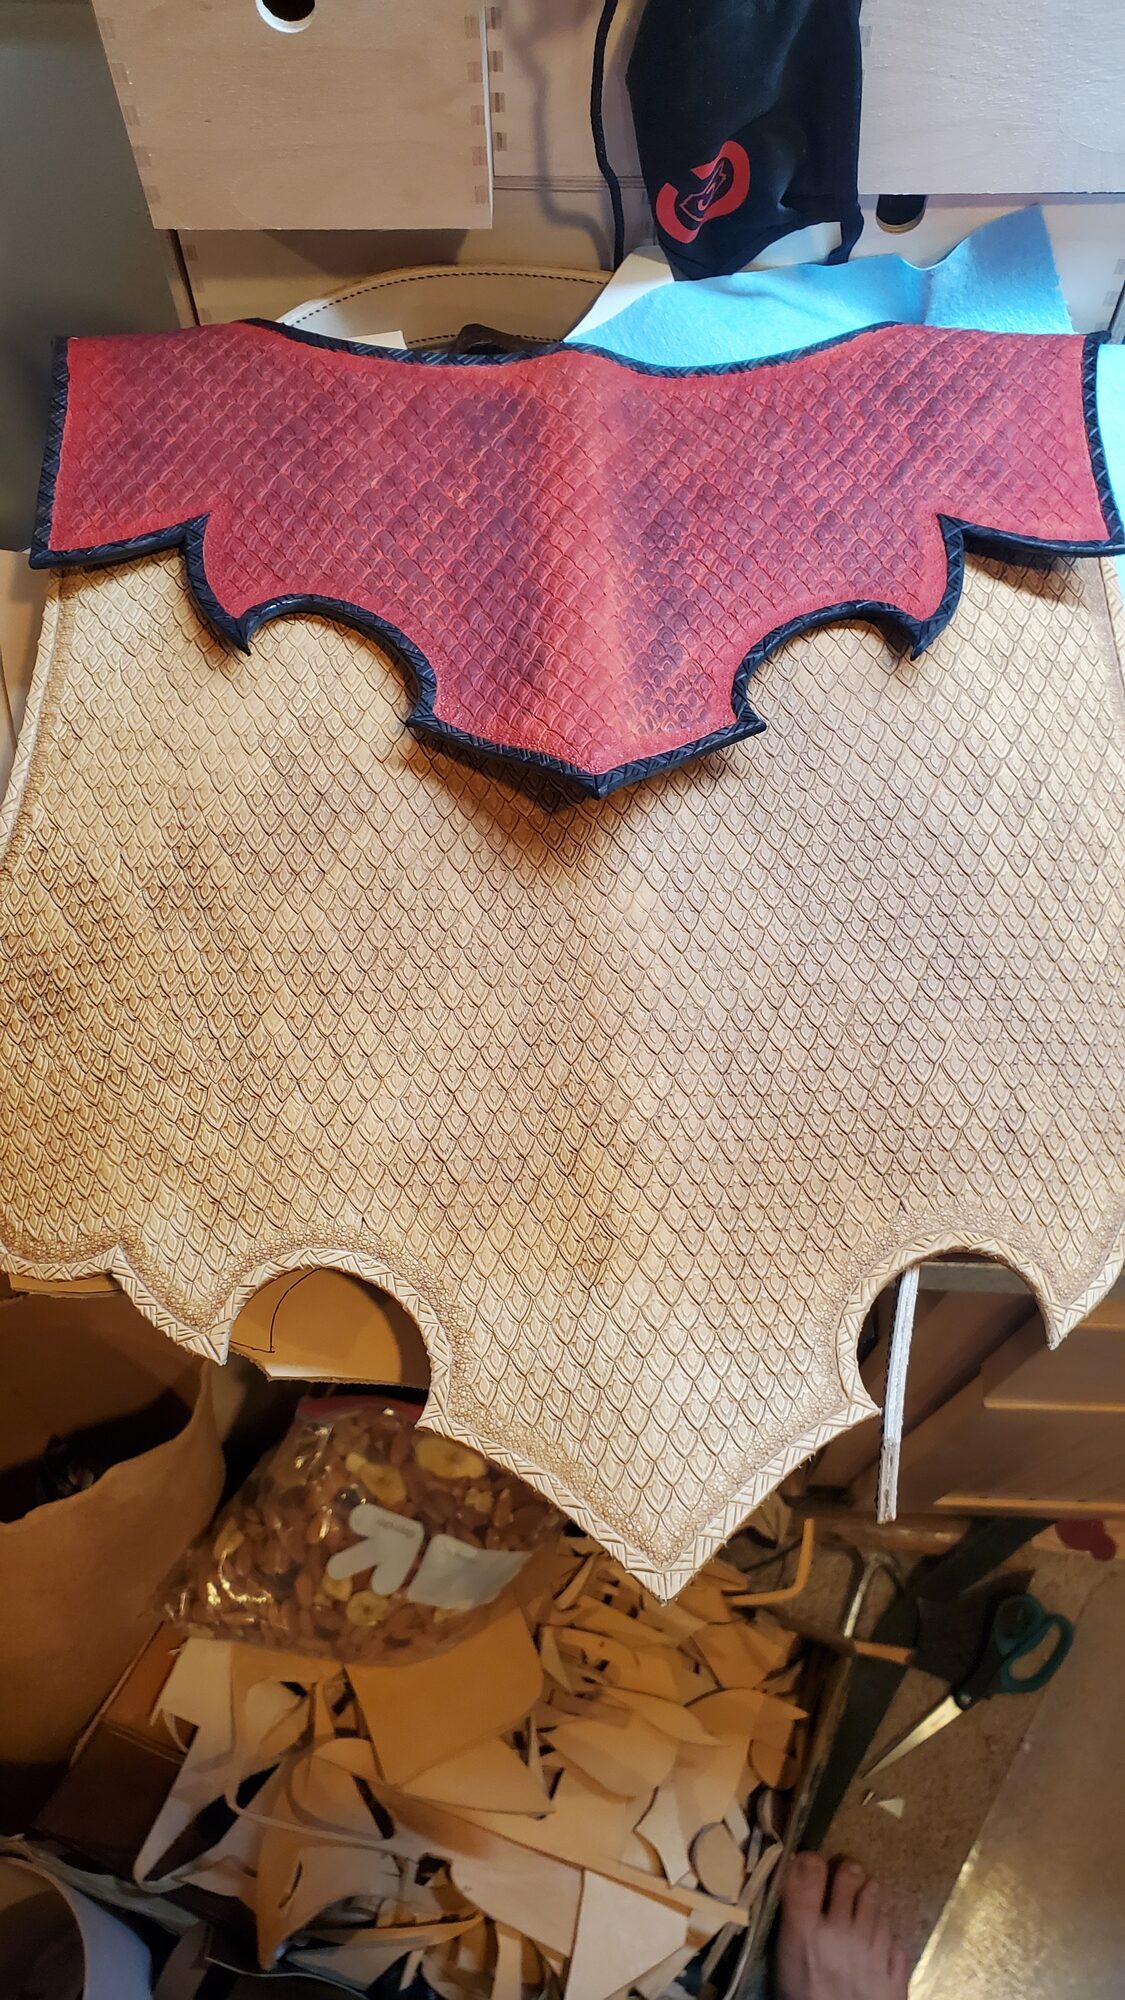
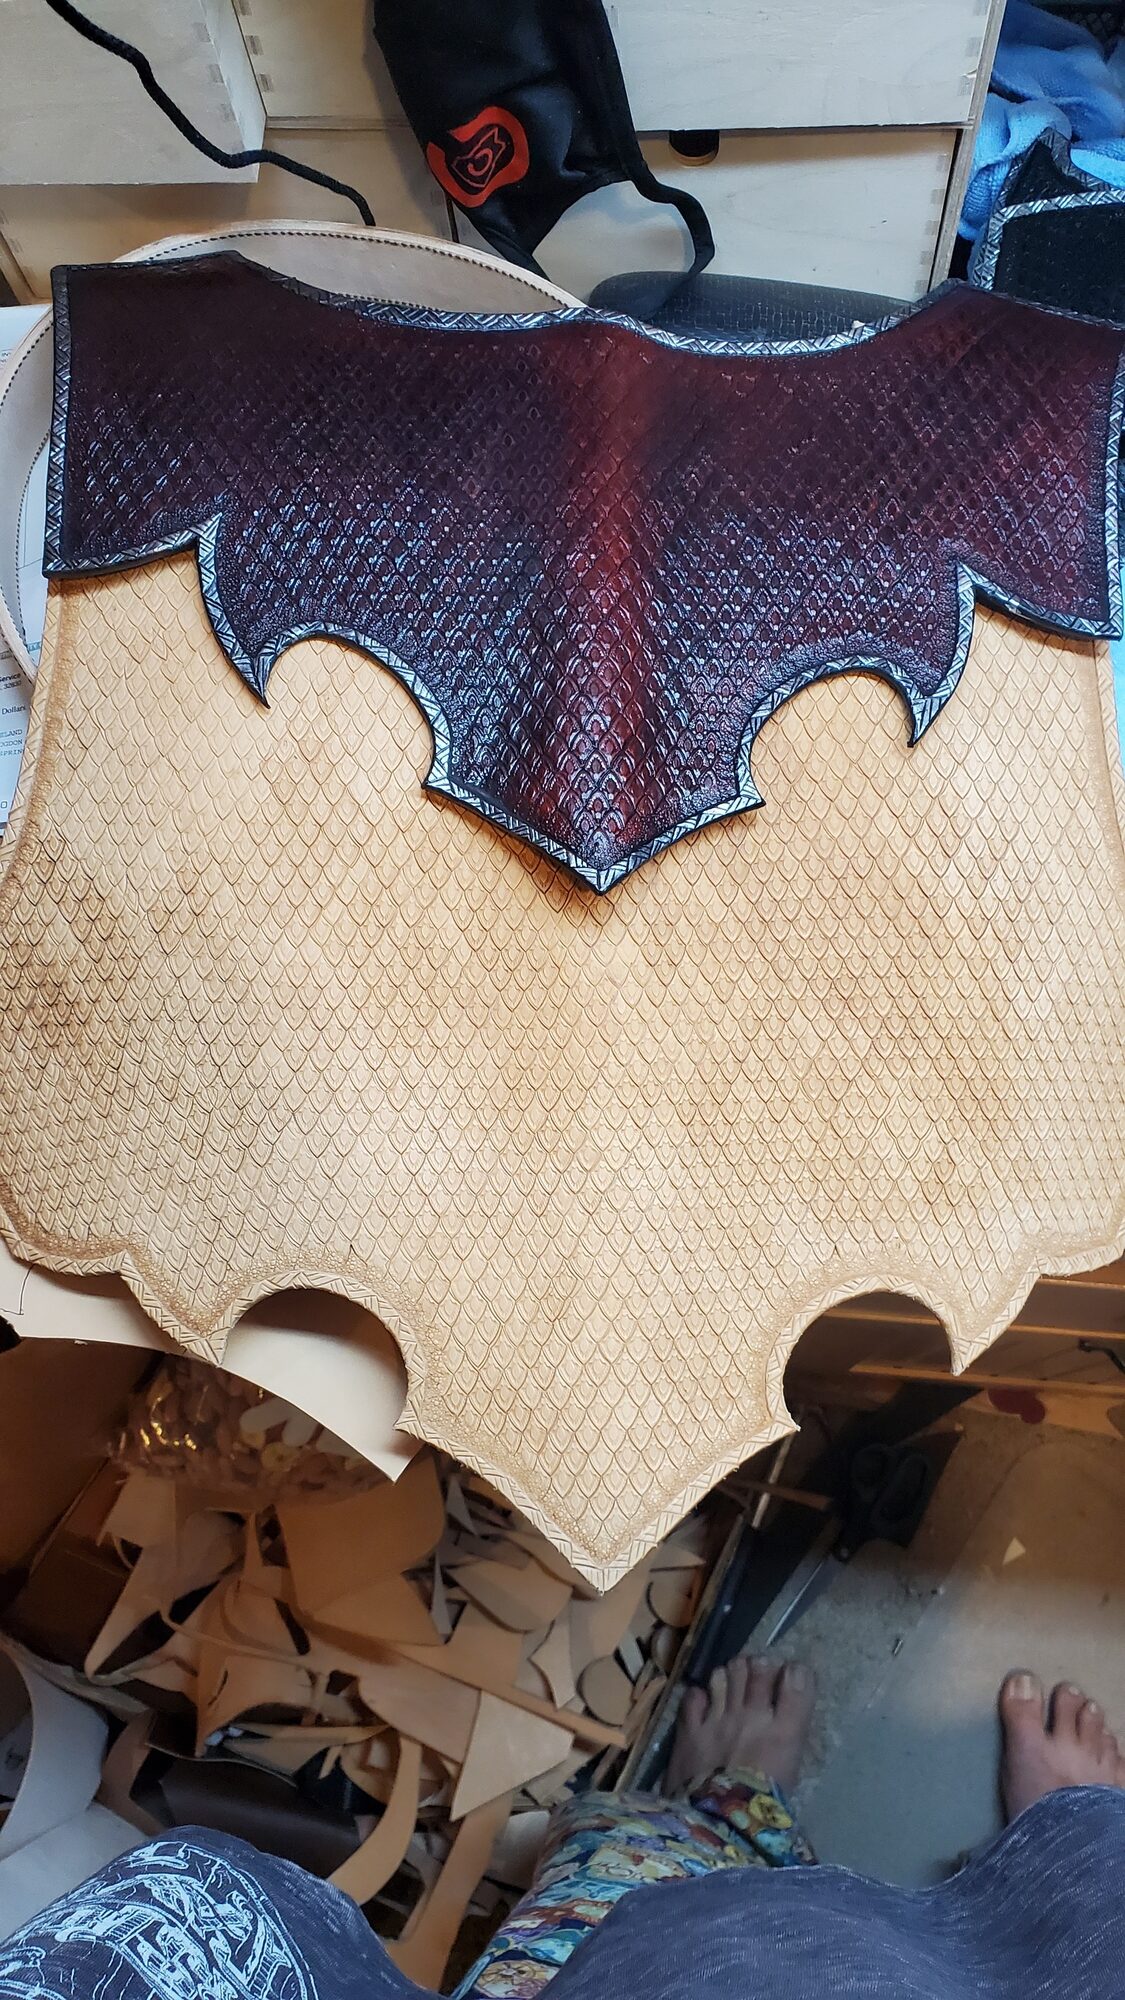
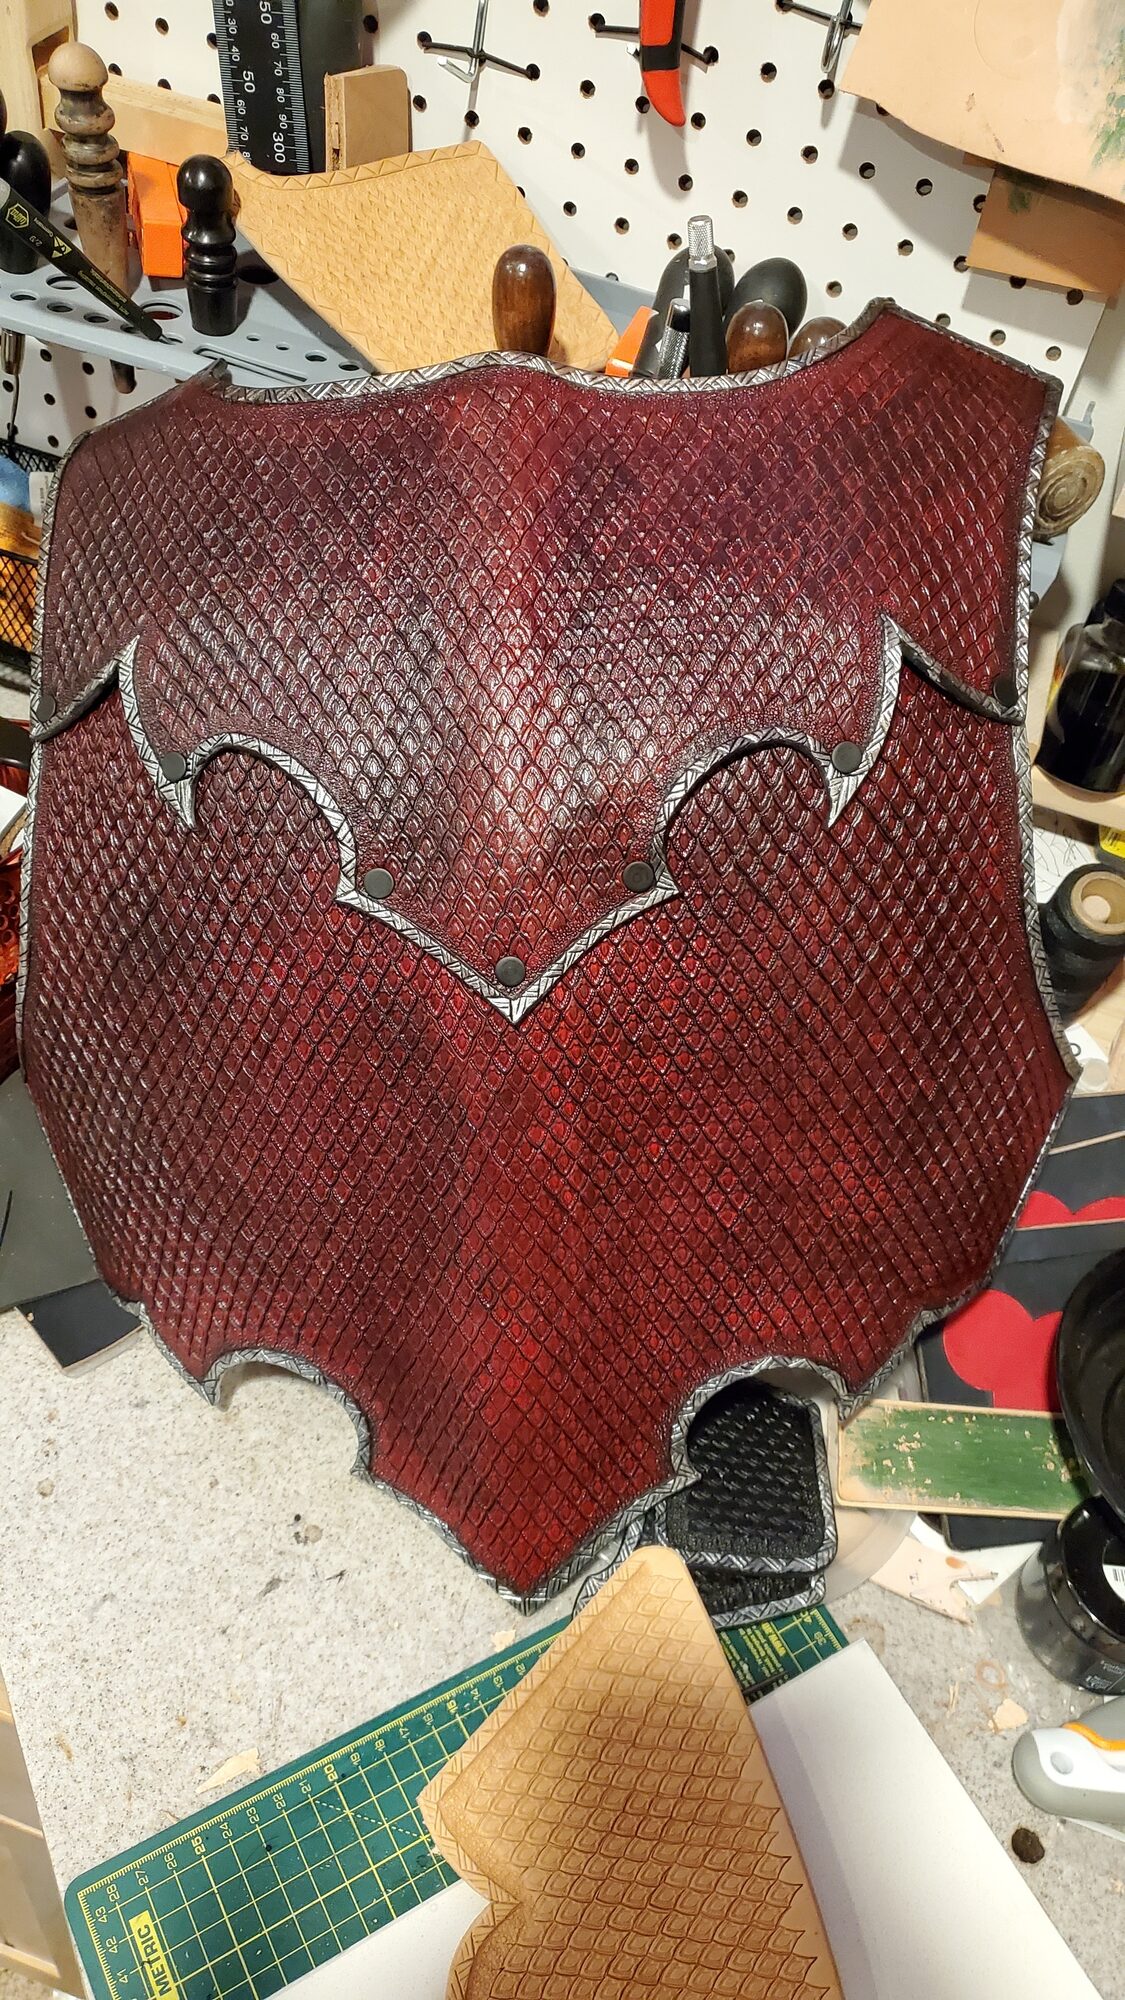
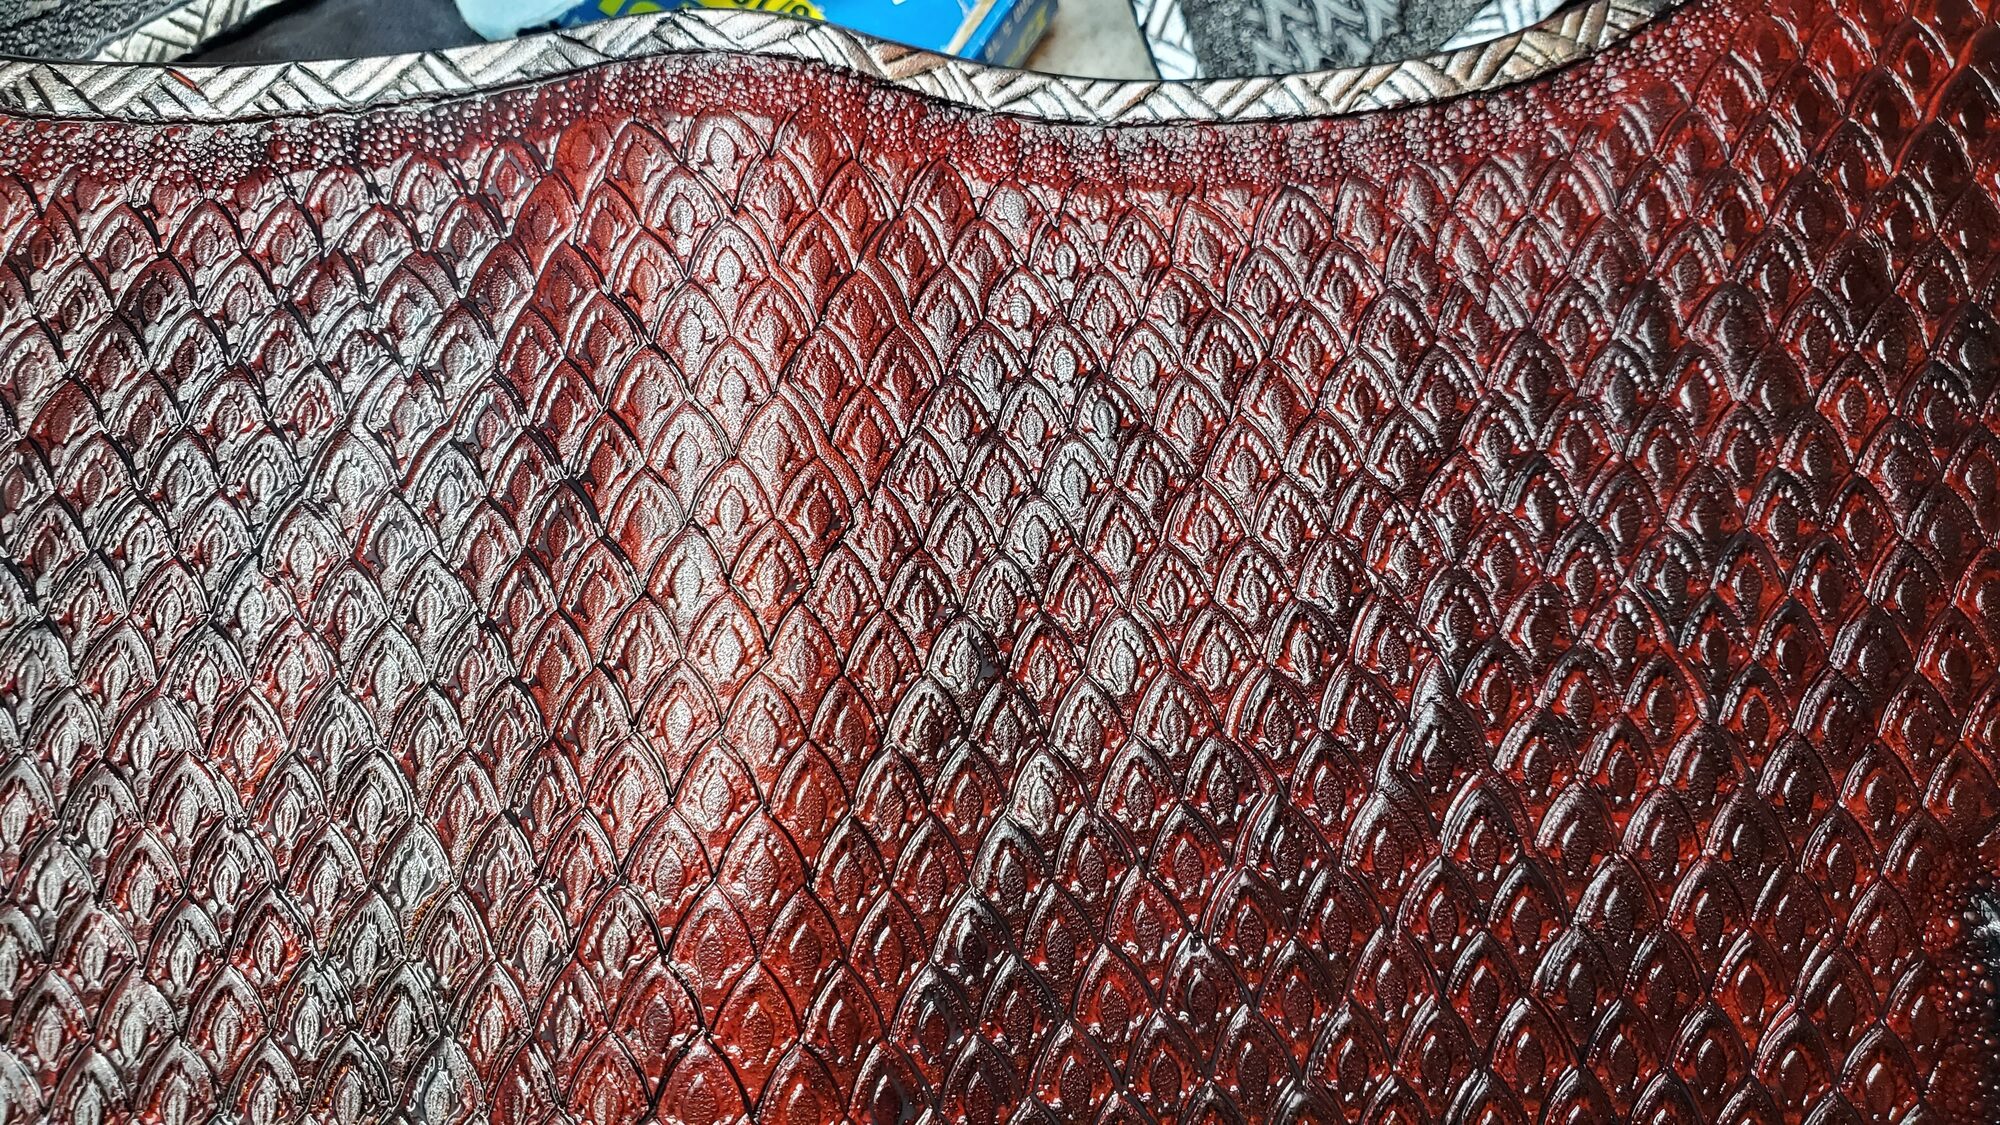
On the next, larger back panel I started to figure out the process. Layout is one of the most important things. In this case, get a center line, stamp four on the stamp, then move up and stamp again. Panel after panel, the moisture window made more sense. There are 10 main panels and 8 side panels in this pattern, then 2 breast plates.
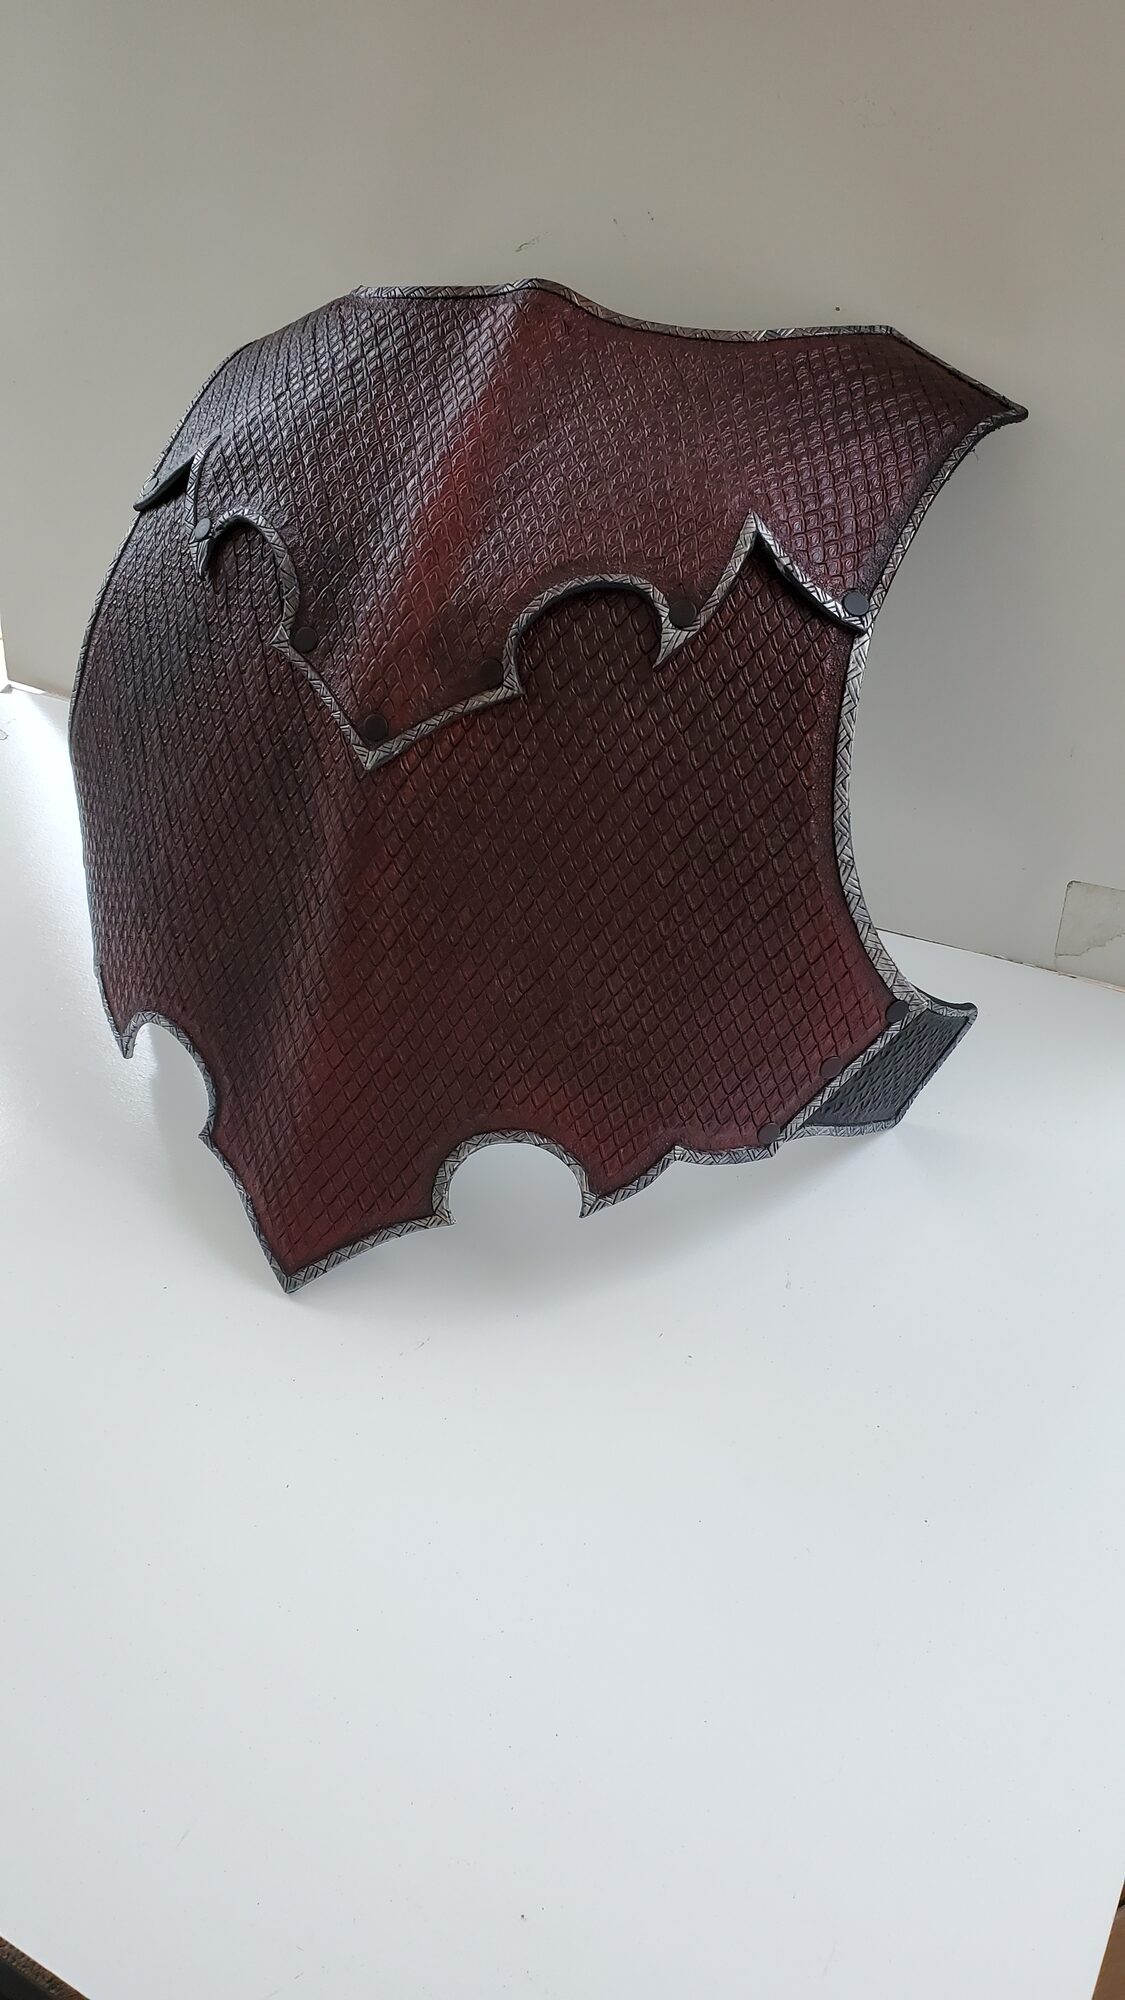
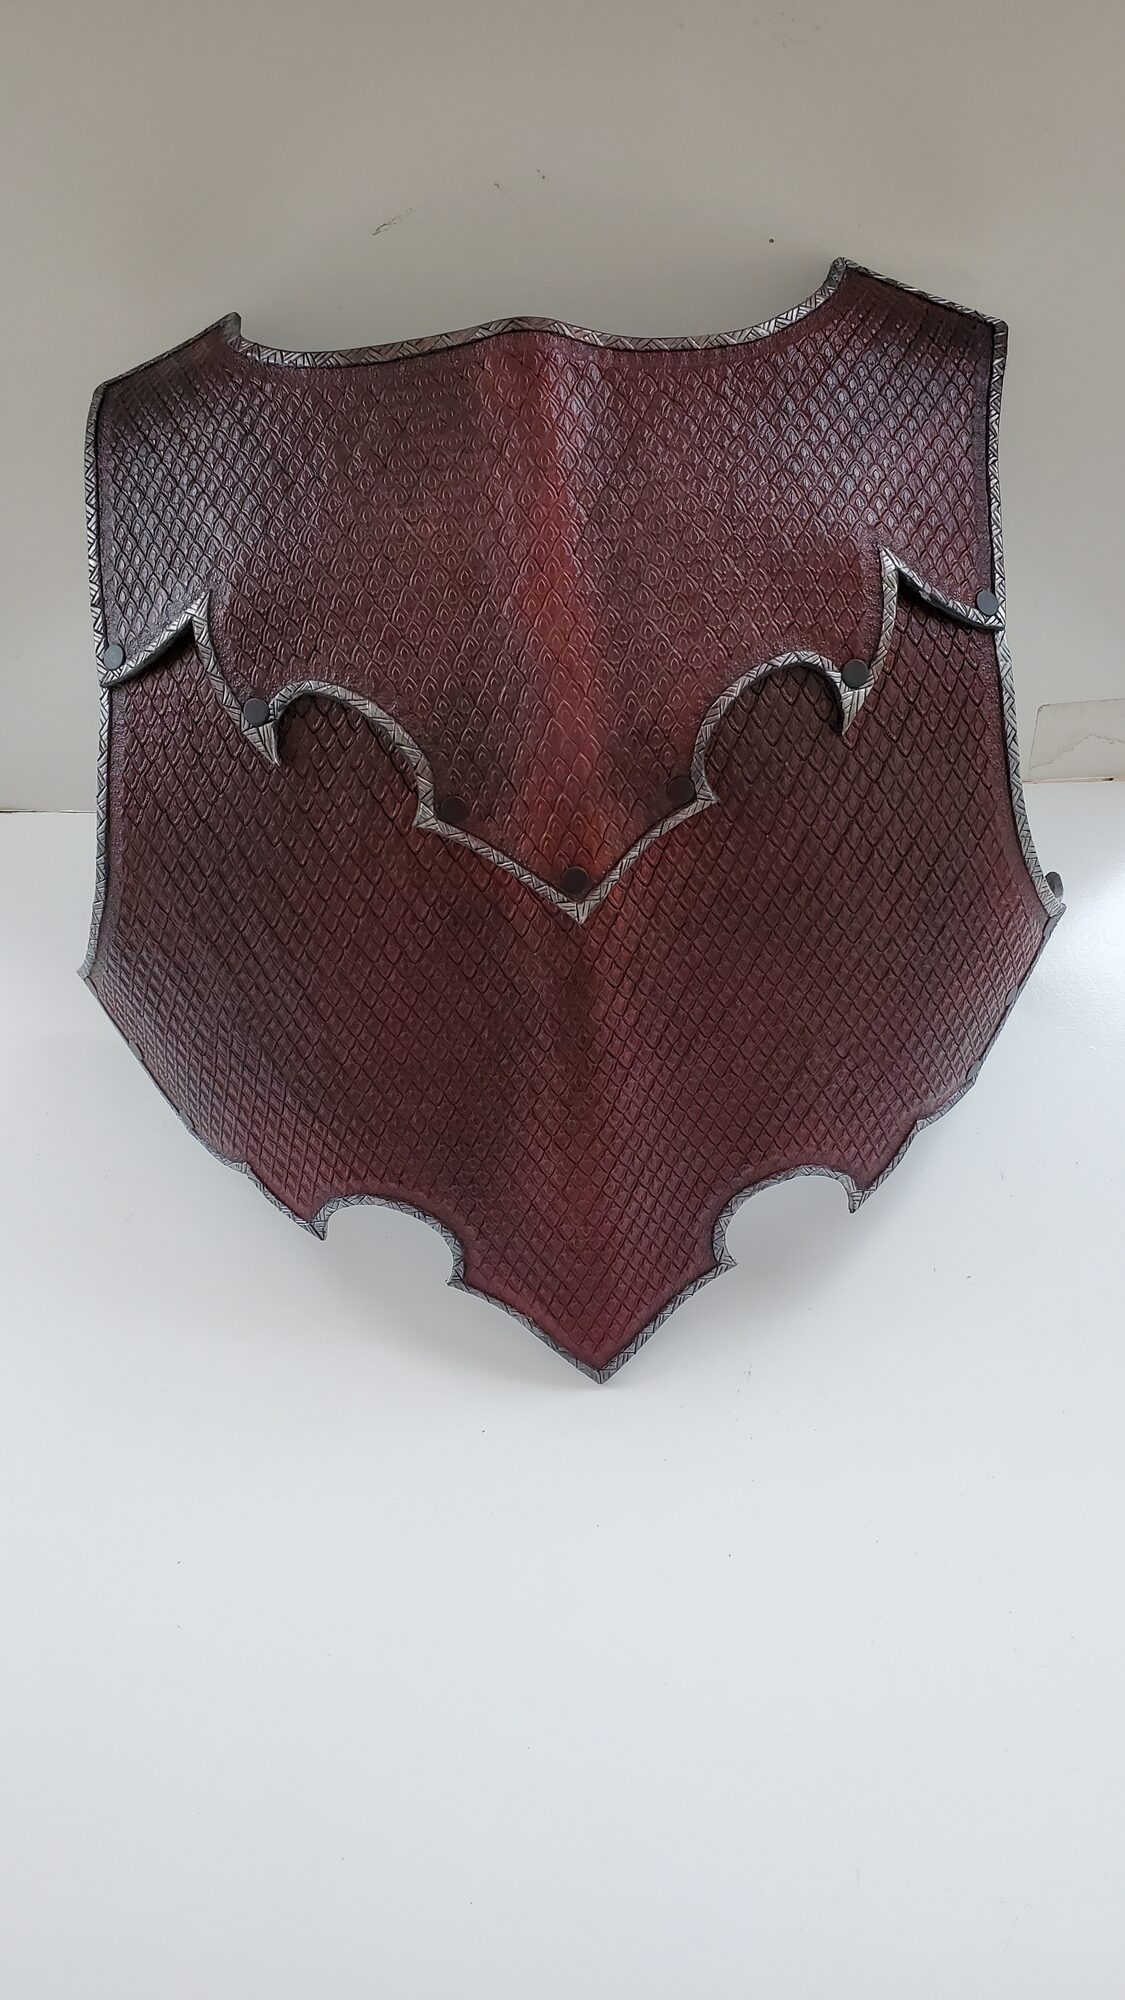
At this point I was still working on the piece. The finished cuirass is in the next post.